


Introduction
Tired of sending the same forms over and over? Are too many of your Acrobat Sign transactions being consumed by agreements that were sent, but never signed? Want to provide your users and customers with more self-service features? If you said yes to any of these questions, then using Adobe Acrobat Sign web forms might be the solution for you.
Keep reading to learn how we publish a web form that is easily accessible to others.
Getting Started
The easiest way to create a web form is through the user interface of the Acrobat Sign homepage. Click here to Login with your Acrobat Sign account and then from the Homepage select the link “Publish a web form” to begin.
You can also publish web forms using the available developer APIs however, we will only focus on the user interface in this article. (Click here to learn more about Building a Custom Web Form from API.)
What is the Web Form Workflow?
The workflow of a web form is a little different from the other Acrobat Sign workflows due to the fact that the email addresses of the participants are unknown to the web form owner at the time the form was created. Typically when sending agreements, the Sender knows the required recipient email addresses in order to determine the document’s routing. With web forms, the Sender may not know the details of the recipients using the form.
Creating the Web Form
The first participant (the form user) can be assigned one of the four roles: Signer, Approver, Acceptor, or Form Filler while the next 25 participant roles configured by the form owner can be set up as any of the four roles mentioned, plus two additional roles; Delegate and Certified Recipient.
After the first participant of a web form completes their action, up to an additional 25 Participants and, or Counter-signers can participate in a web form workflow. Although the participant emails are unknown to the form owner, the owner can add Counter-signers who are known contacts in the web form process.
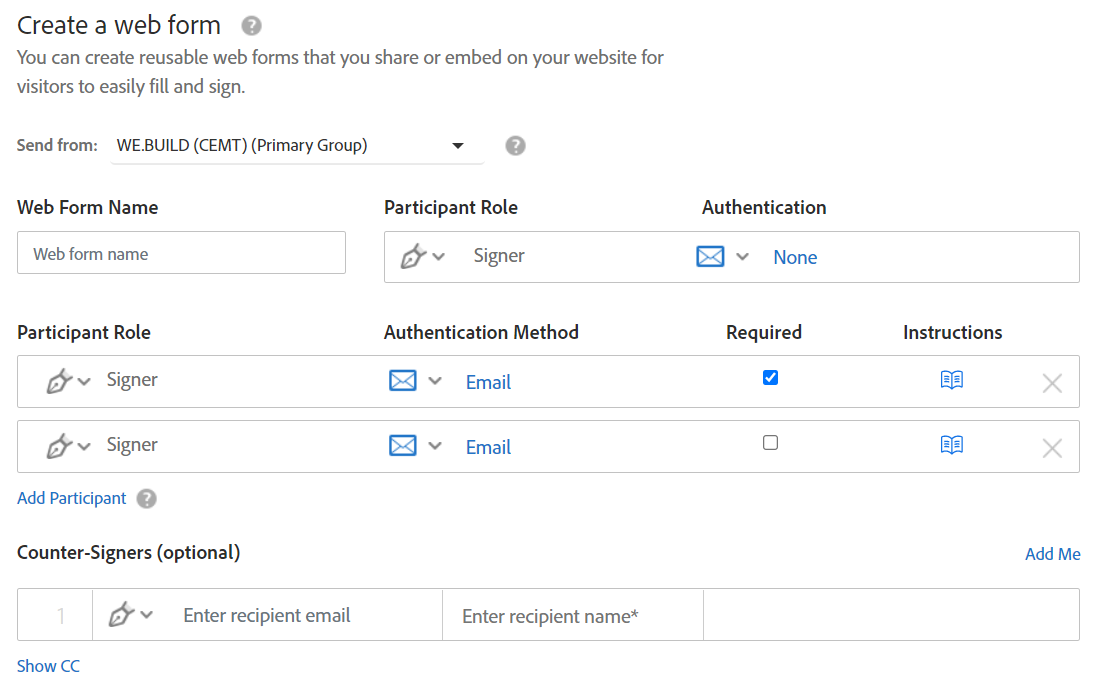
The screenshot above shows a web form being created with 3 participants as Signers with the last participant as optional since the Required checkbox is not selected for that particpant. This configuration lets the first participant decide if they want to send the form to one or two participants after they complete their role. In this example, the web form owner did not add any Counter-signers, but if Counter-signers are required, the email addresses and recipient names would be added by the form ownerat the time the web form is created. 11 others can be added to the CC list if you wish to keep others informed on the agreement status.
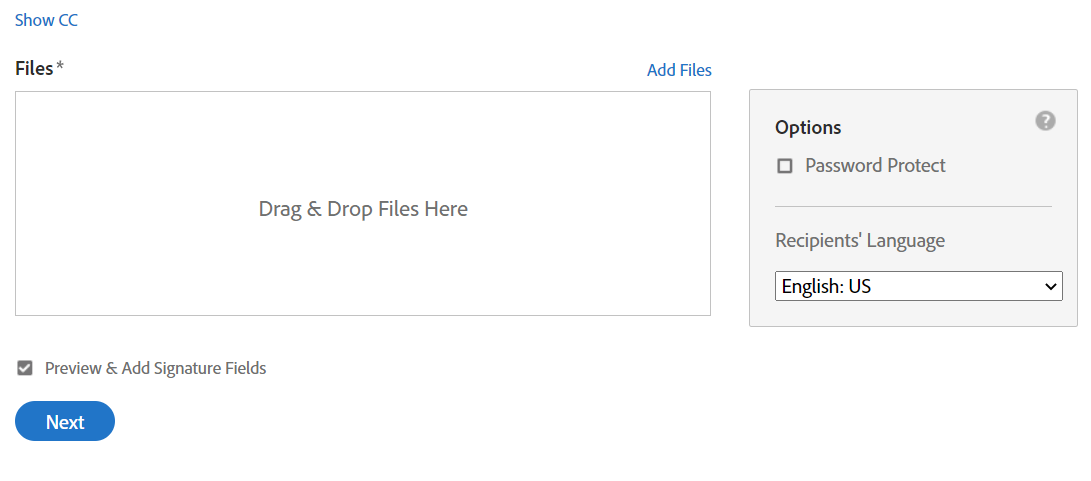
Next, select the files to be part of the agreement, whether or not you wish to set up Instructions for the participants, password protection, or the recipient interface language. (Click here to learn more about how to Add form fields to documents.)
Once you have placed all the necessary fields, you are ready to save the web form. Saved web forms are accessible from the Manage tab > Web forms link. Here you can edit your web form, view or download it as a PDF, and get the web form link or embed code. Use the Web Form URL or Web Form Embed Code to provide your users with access to the newly created web form.
Use Cases for Web Forms
Below are a few scenarios where a web form would be the ideal choice to capture signatures:
- An educational institution requires signatures from students and parents in order to be permitted to parake on a school trip. The number of students interested in attending the trip and their parent’s email addresses are unknown by the form creator. Students interested in participating will visit the web form URL, submit their information, and provide their parents email addresses when prompted.
- A genealogy center requires visitors to provide their most recent health information and consent to share the health data with health partners. Using a kiosk, visitors enter their information into a HIPAA compliant web form and submit it for processing. The web form then refreshes for the next visitor to populate.
- A sales associate sends regular purchase order forms for signature to new customers. Rather than log into Adobe Acrobat Sign each time a new form is needed, the sales associate directs the new customers to visit their company web site and submit a form online at their convivence.
Learn more about Adobe Acrobat Sign web forms via articles on the Adobe Acrobat Sign Tutorials website.
.svg)
.svg)
.svg)